
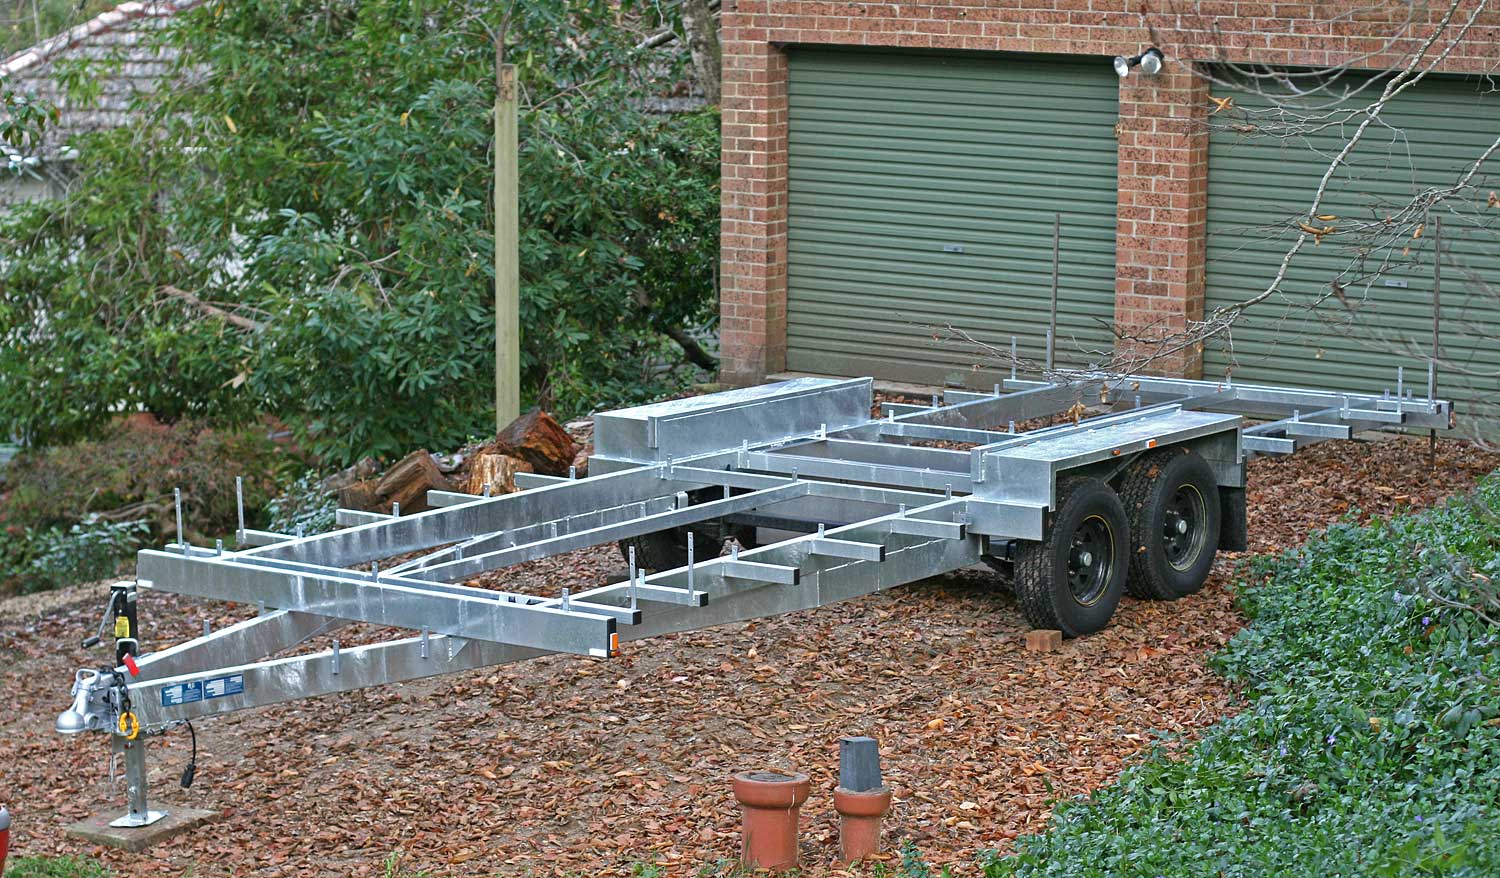
May 2021. The trailer from fredstinyhouses.com.au has been delivered and manouvered into place in front of the workshop. Thanks Jon!

We started by laying out the floor joists and putting in the foam insulation. You can see the sub-floor storage (wine cellar?) which will have a hatch in the floor for access.

June 2021. The wall frames for the back third go up.
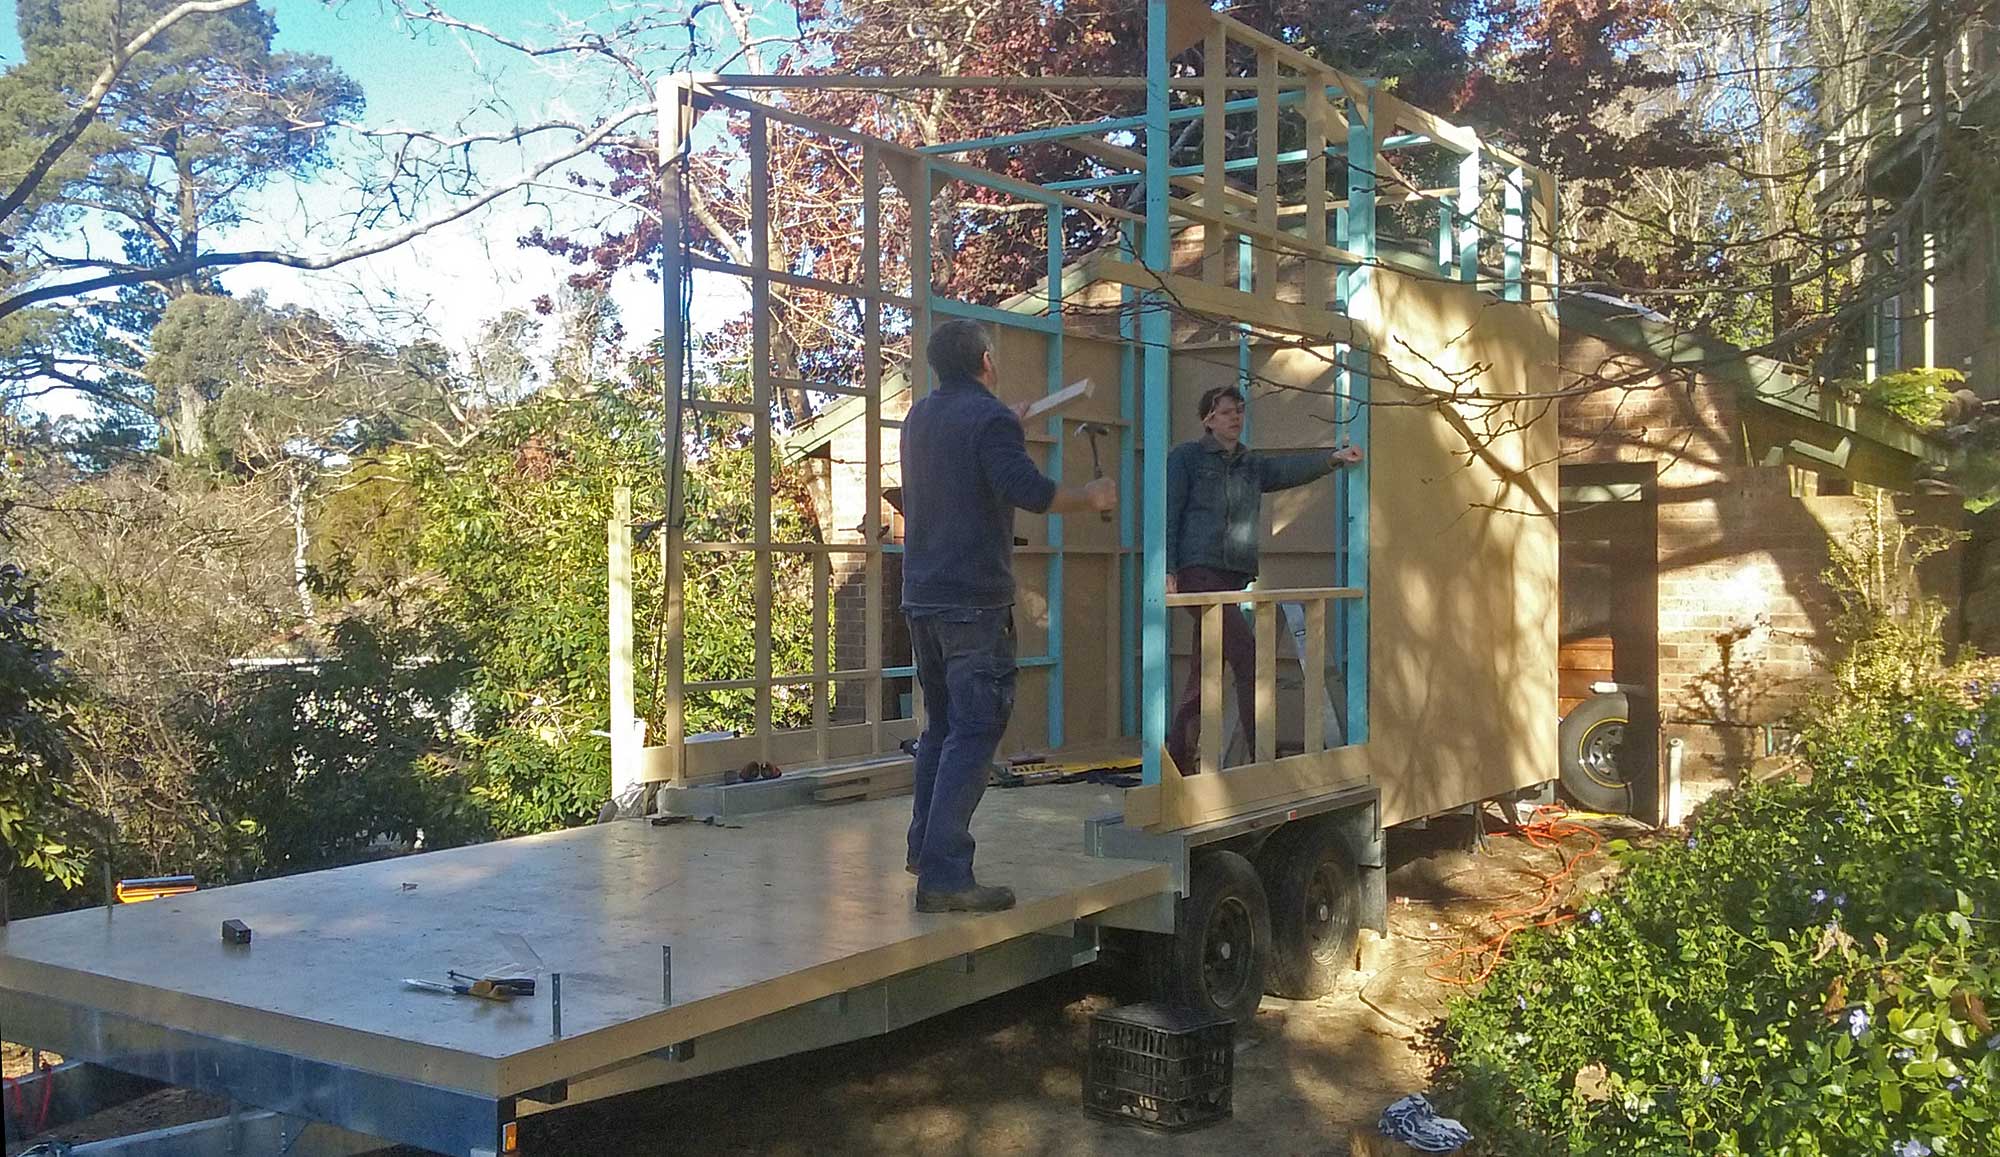
Now the 2 middle frames. These need to sit over the wheel arches.

The last 3 sections of wall going up to complete the box

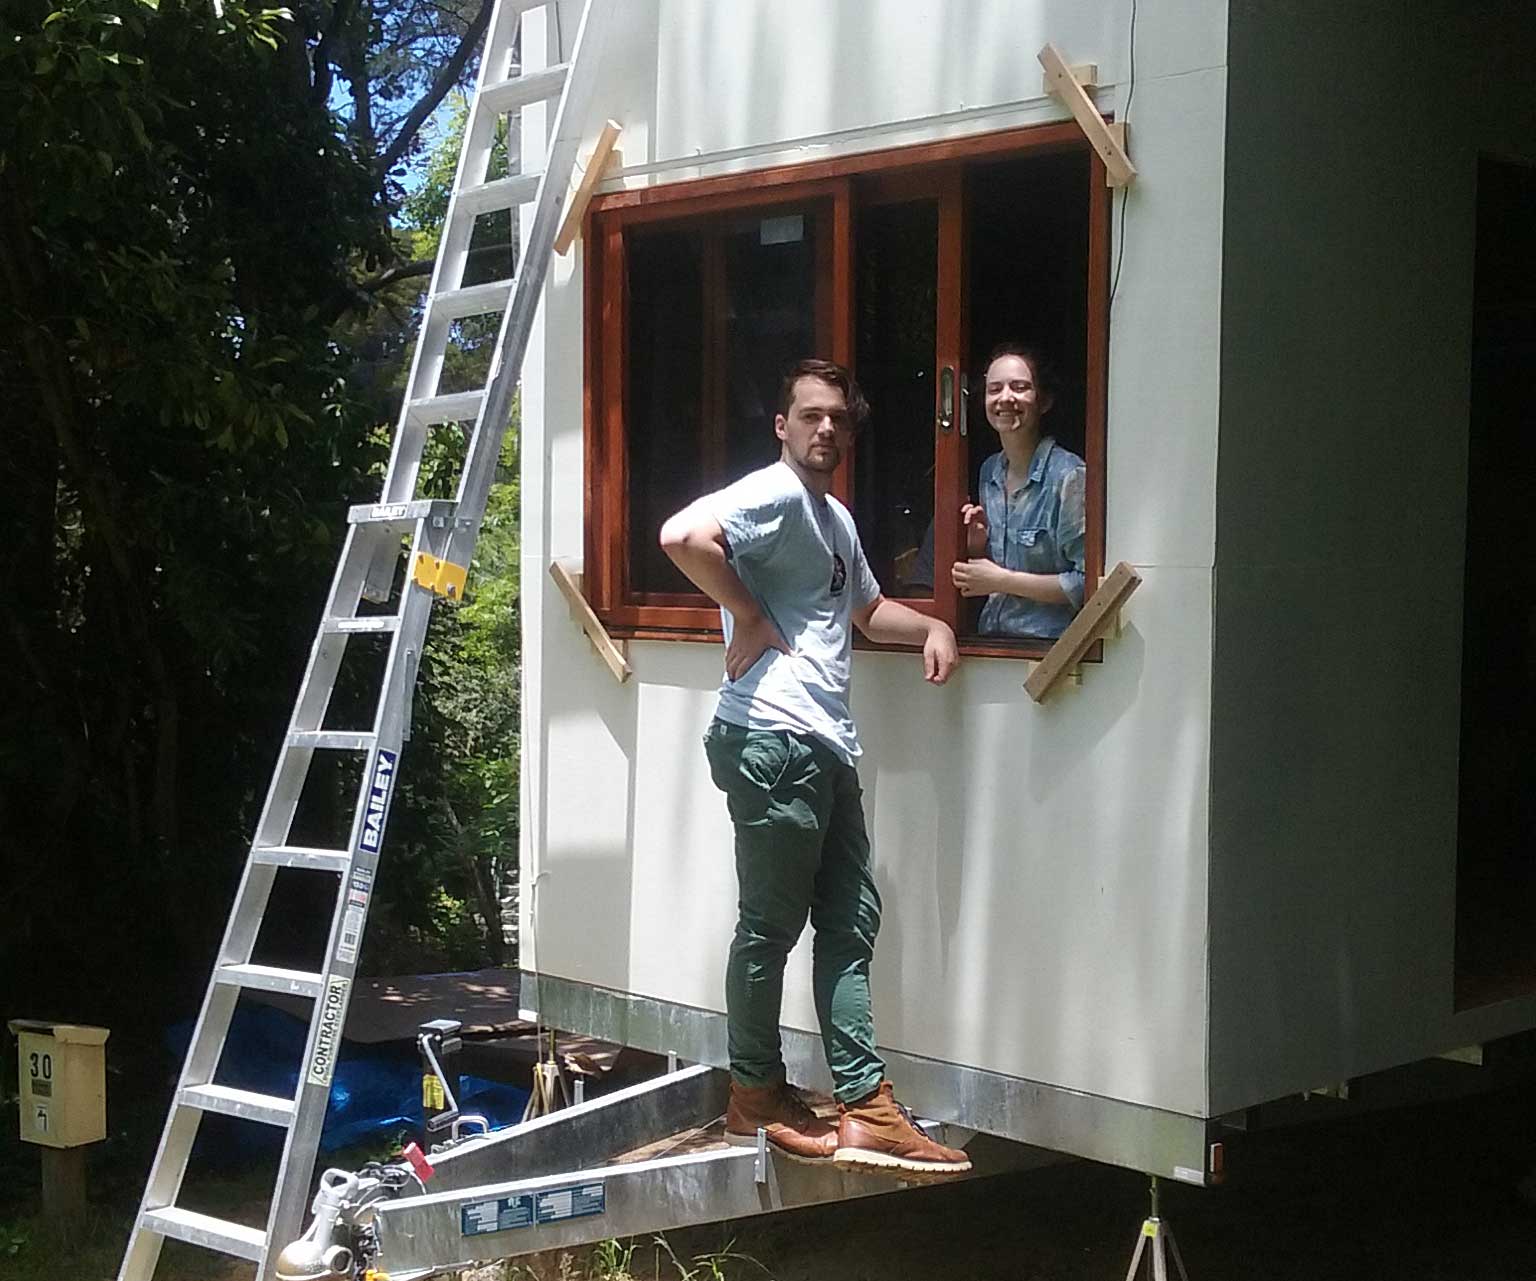
Jack and Beth were a big help.
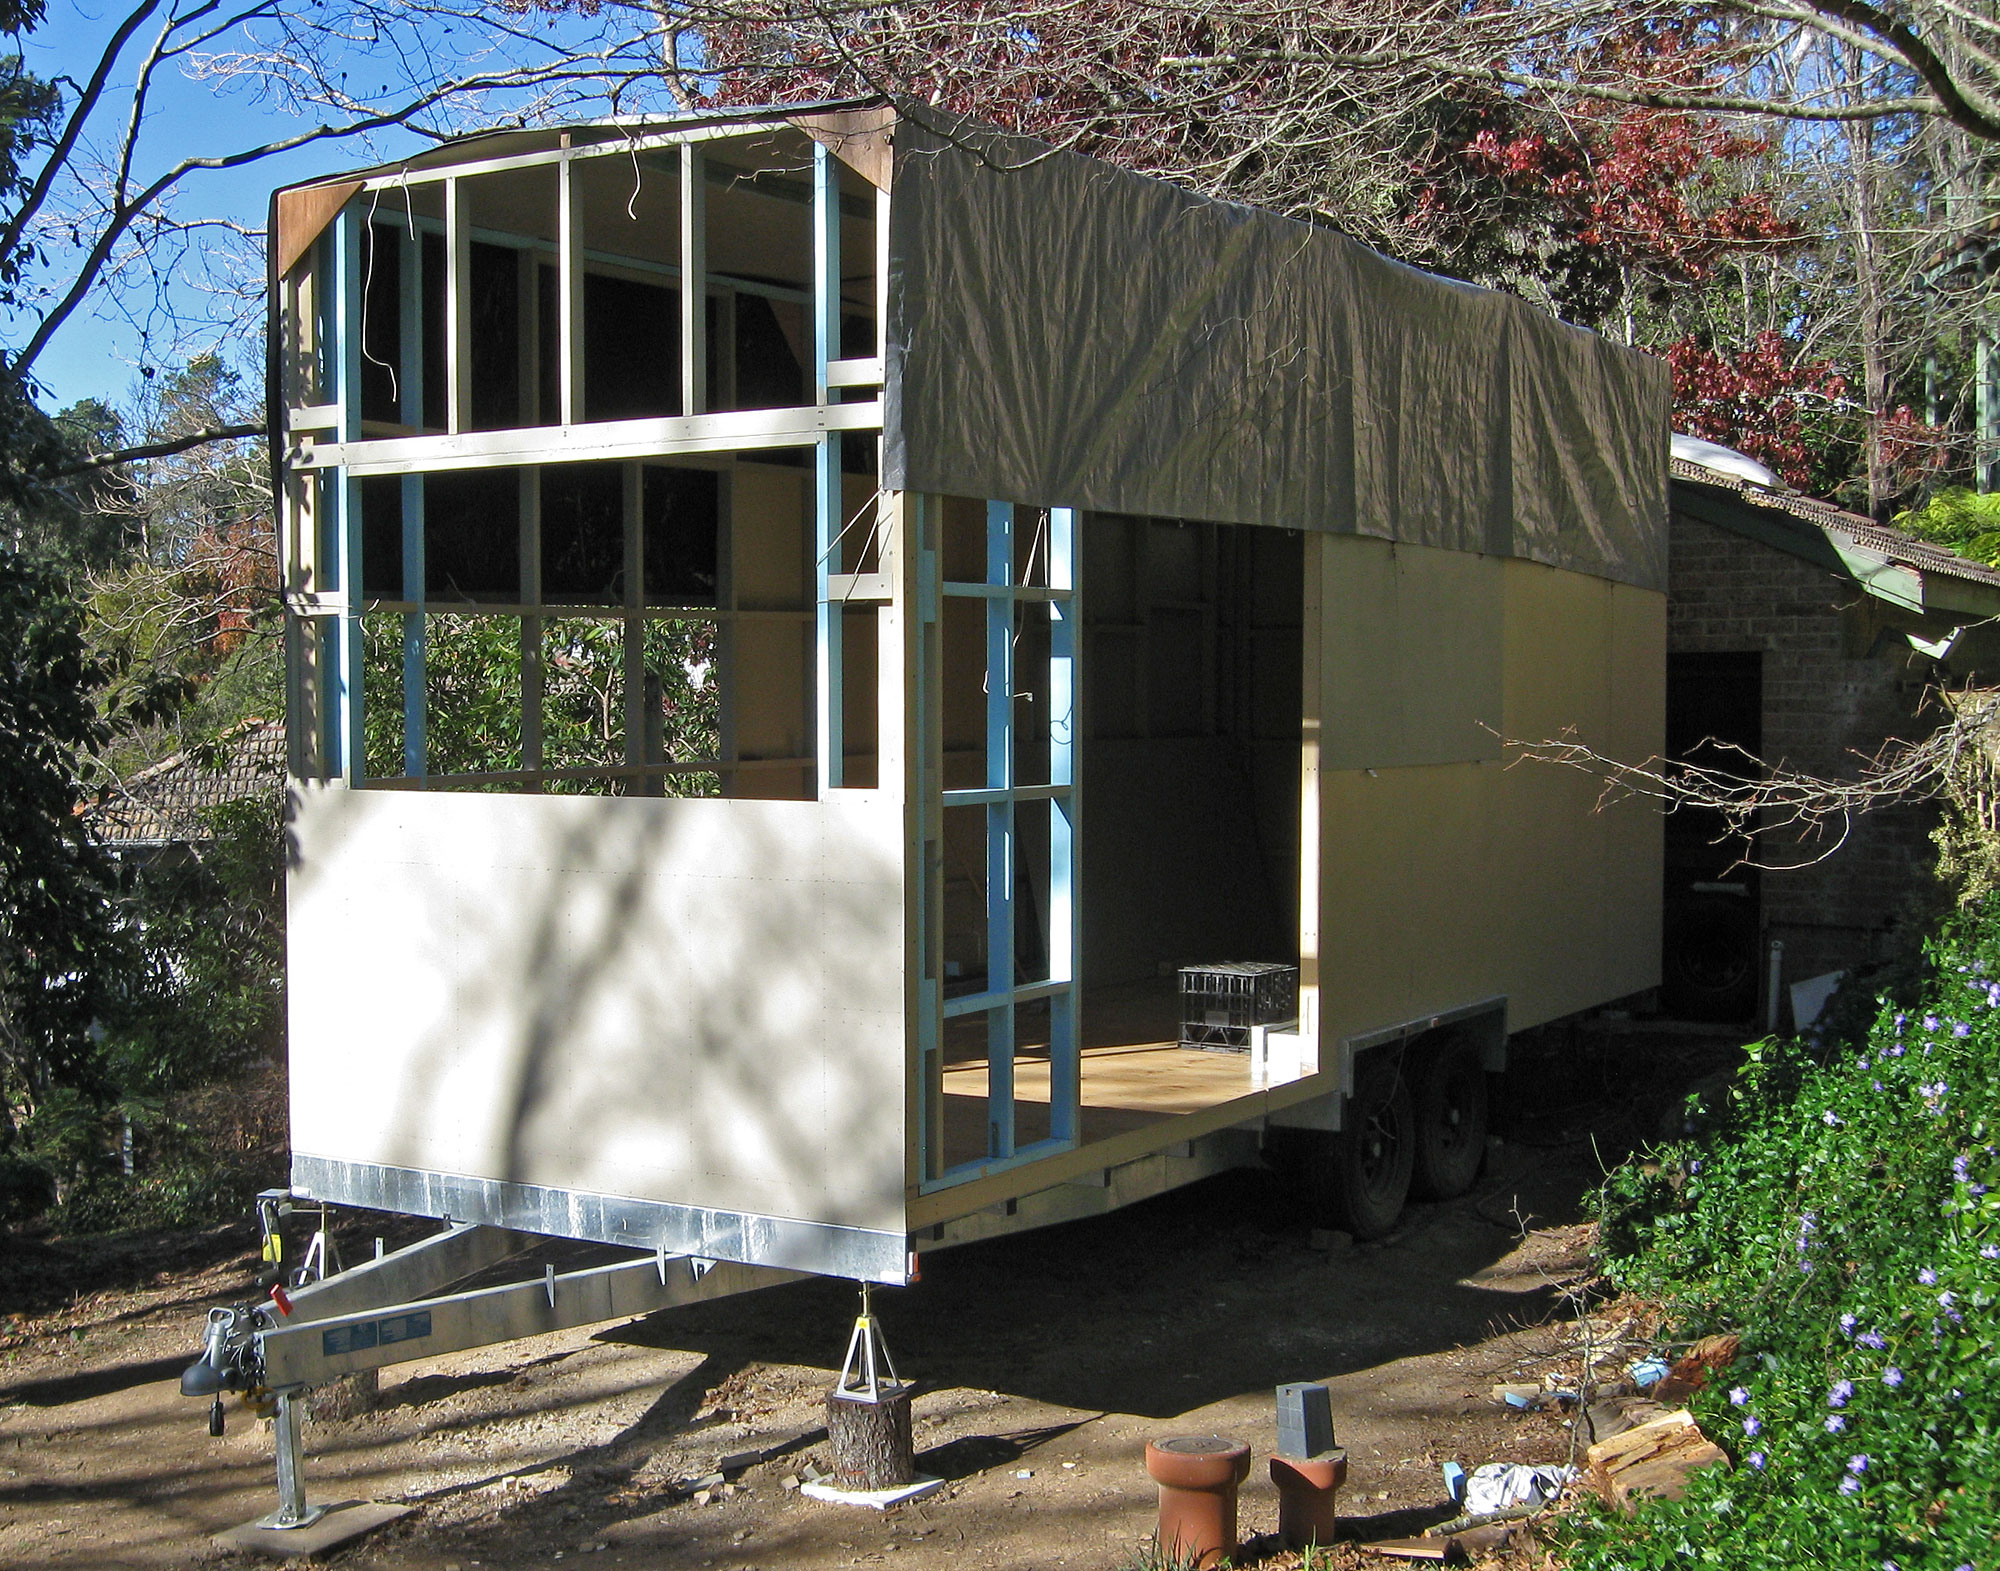
The wall frames are completed and the bracing ply is then glued and stapled over this (and painted many times). It will give us a waterproof skin until we can get the cladding on.

Not a bad view from inside, looking out through the front window.
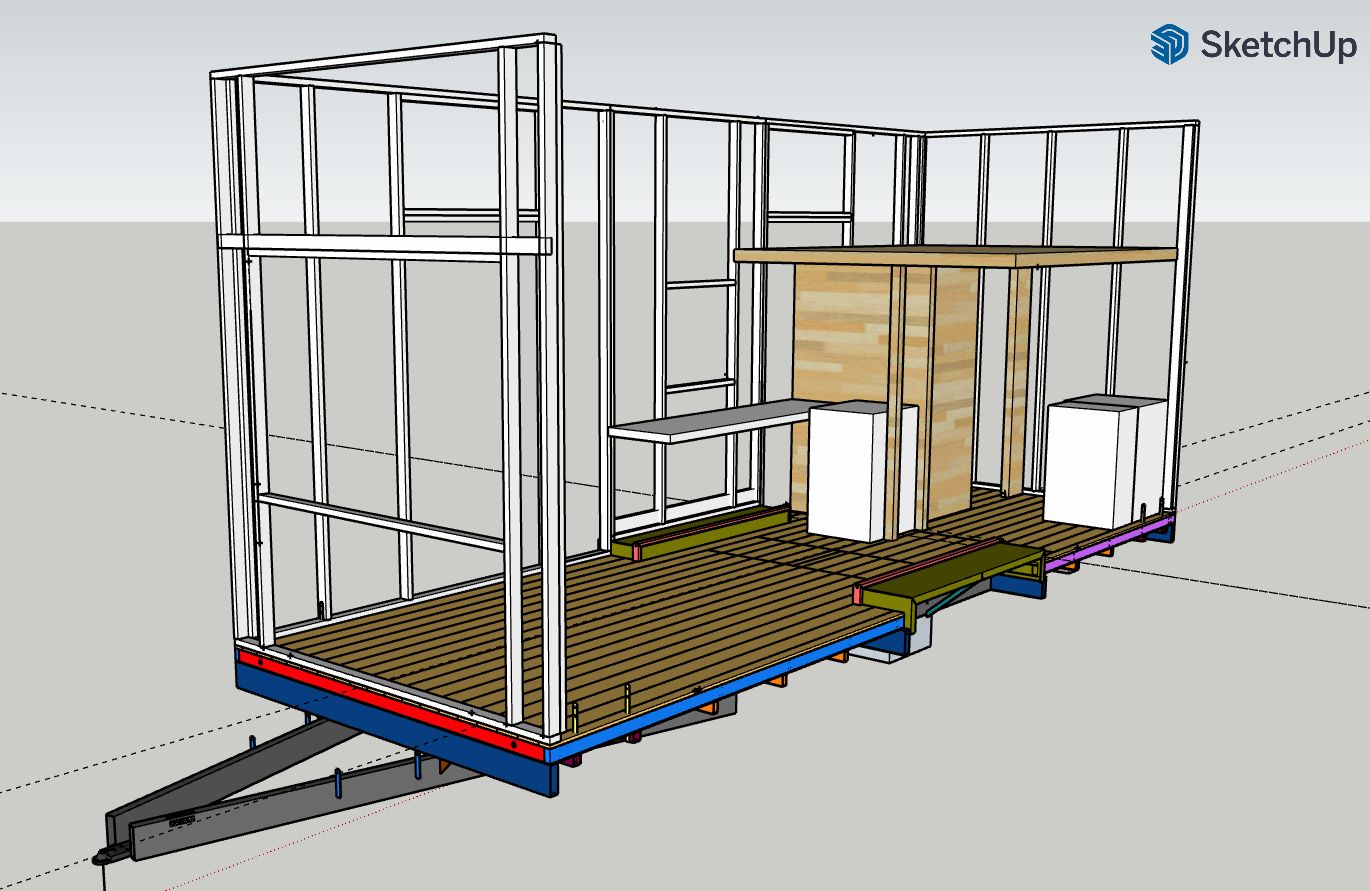
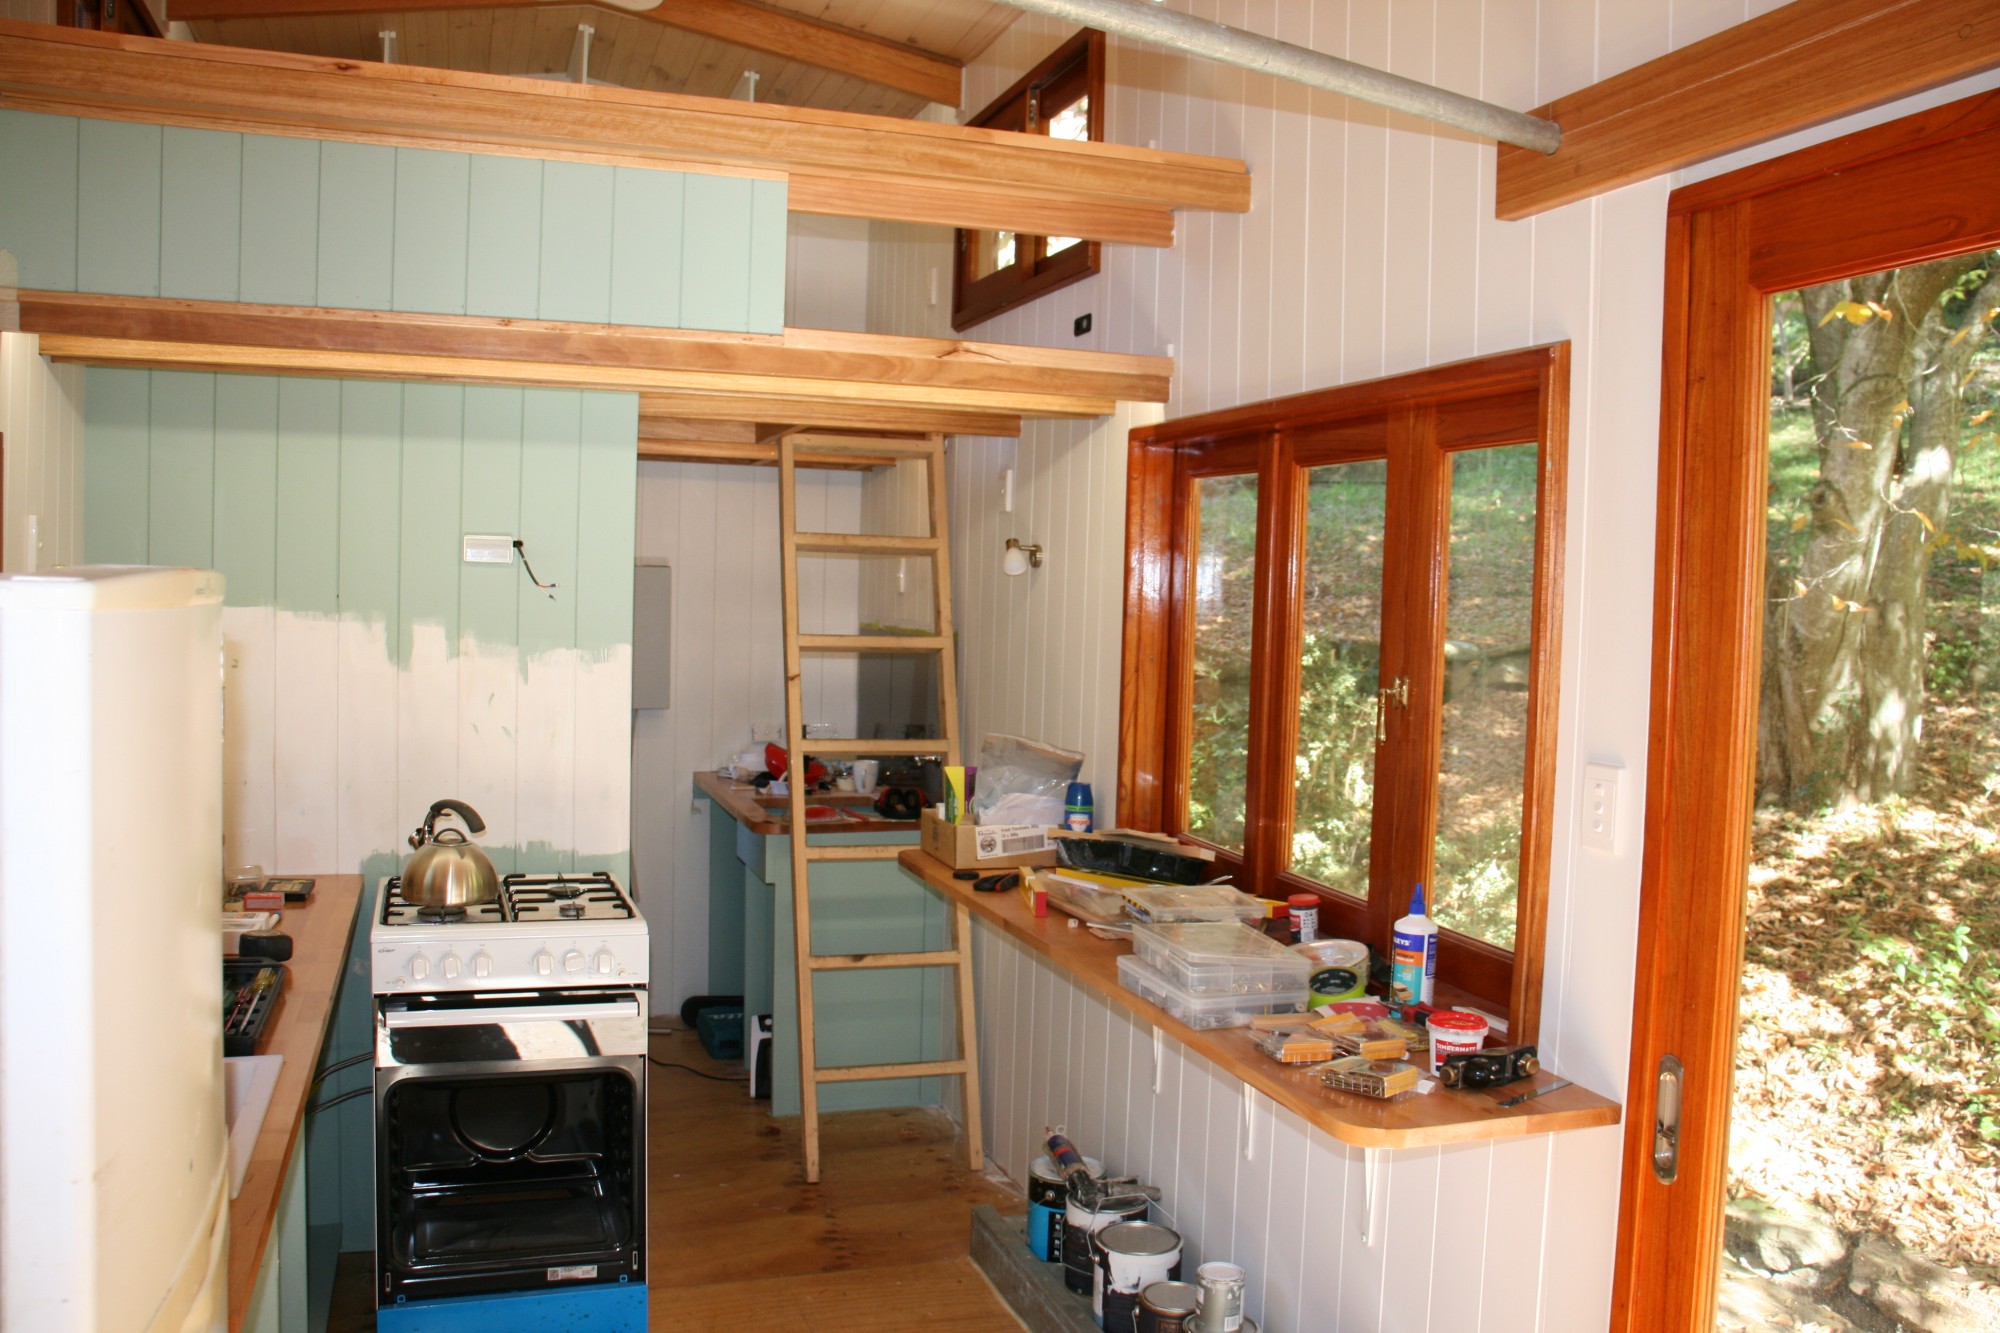
This is Beth's planned layout for inside. There will be a small laundry tub and washing machine in the back corner under the loft ladder. The bathoom has been kept small and will only have a toilet and shower. The kitchen has a proper full gas stove (LPG) and a bench under the window. There will be a narrow bench on the other side under a bifold window. The front section is the living area.

The loft was added early to give the structure some bracing. The floor is baltic pine.

We used strong hardwood joists for the loft to maximise strength. The bathoom wall runs down the centre so there is plenty of support.

September 2021. Rafters are added. These are oregon and have plywood panels to cover and reinforce the gang nail plates.

The tiny house is starting to feel very solid now.
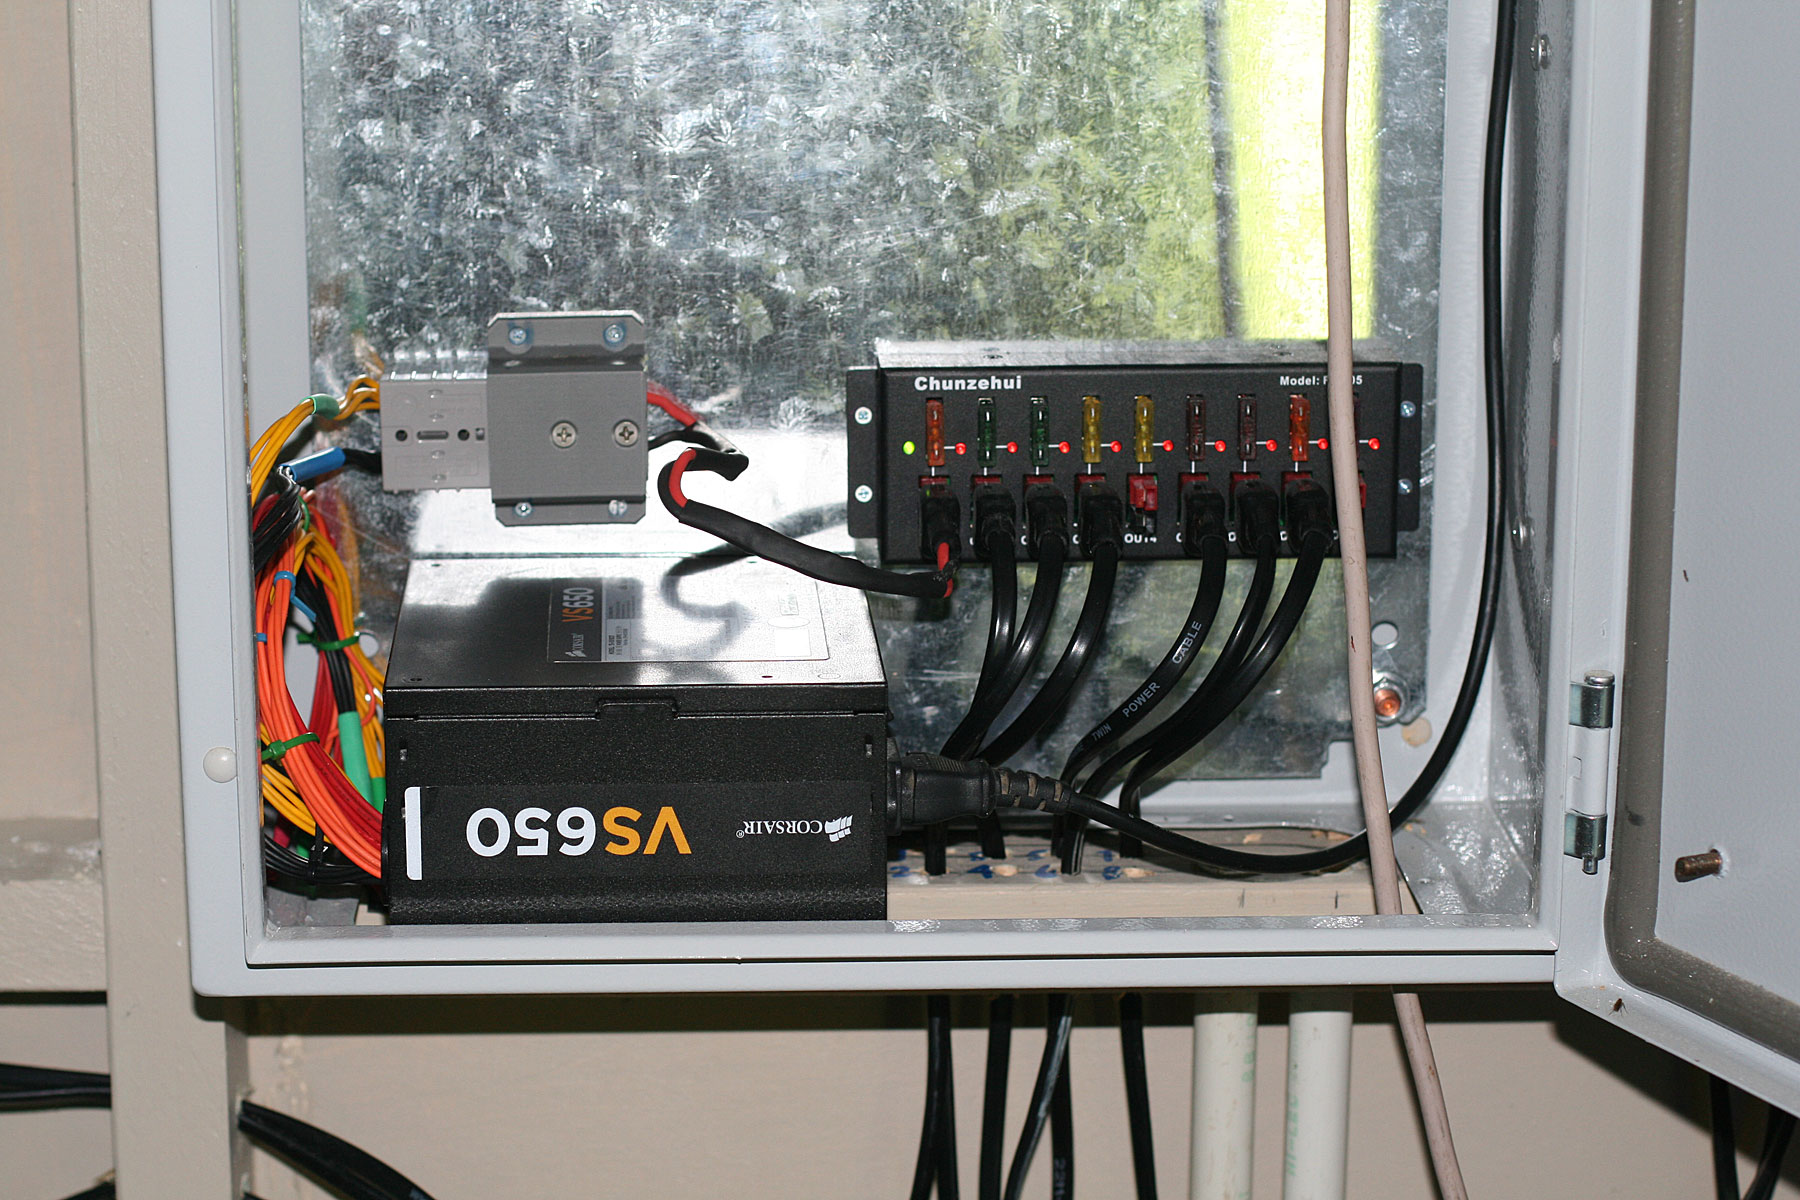
Starting to think about the 12V circuit that will handle all the lights and some power. We are using an old computer power supply for now. The distribution board gives us 8 separately fused circuits.
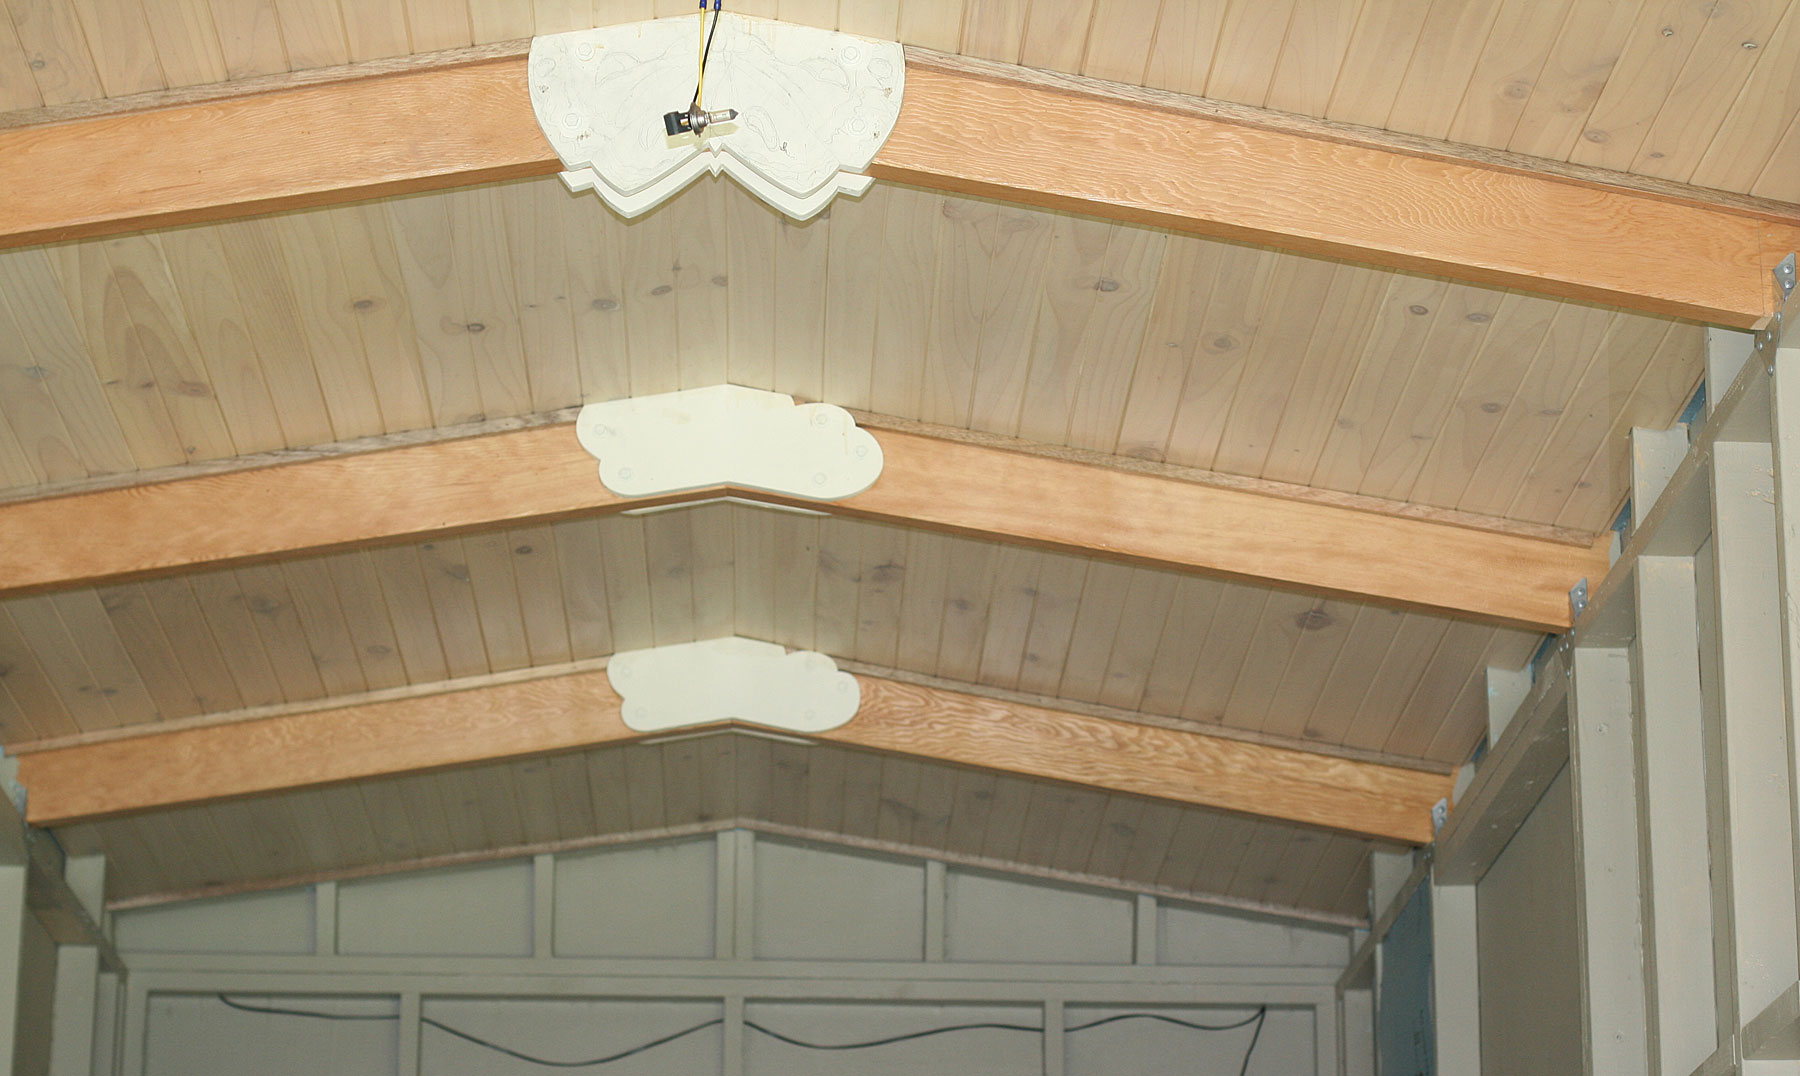
October 2021. The ceiling was lined with pine boards; Beth painted them with a lime wash.

December 2021. Big relief to finally have a break in the weather and get the roof on. Much more weather-proof and I can stop fighting with huge tarps.
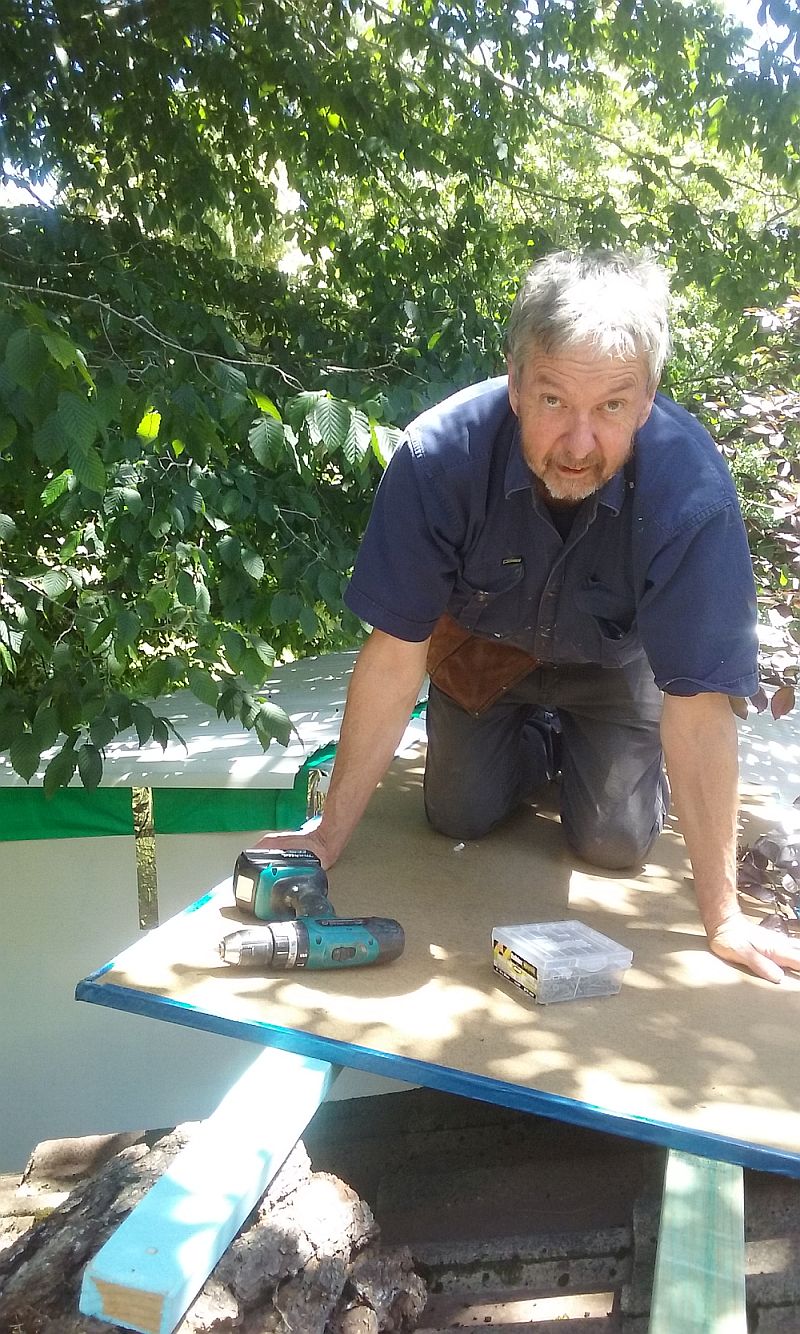
I used a gangplank to get access from the workshop roof. Initially I was crawling across but got more relaxed later and just walked over.

After 2 days of roofing my legs were starting to give out.
The door and some windows were temporarily put in place.

We added a small deck down the side. This can be unbolted and dismantled when the time comes to move on.
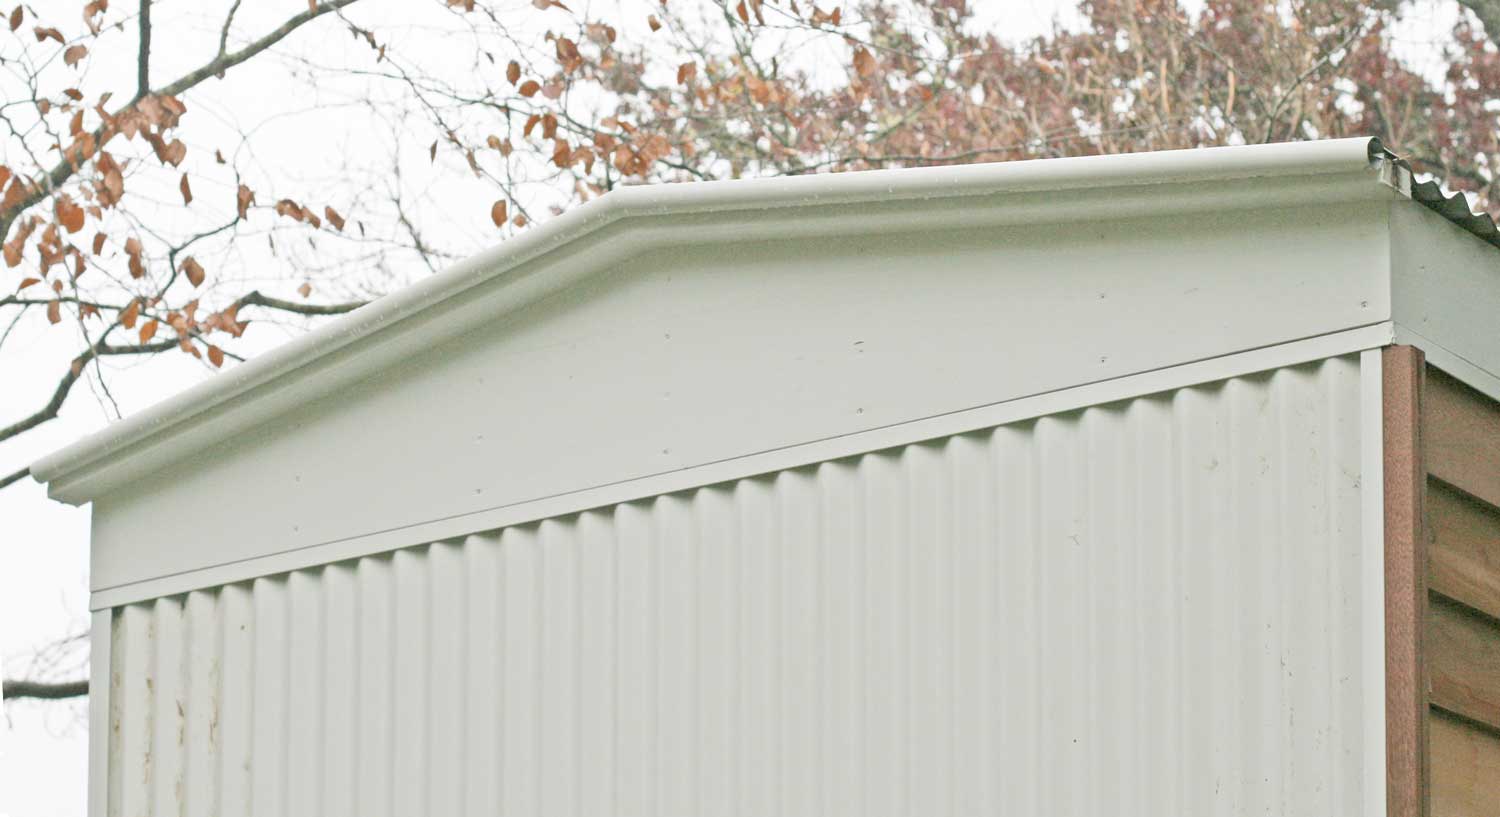
Barge boards were added to the ends and sides, and the roof finished off with barge rolls.
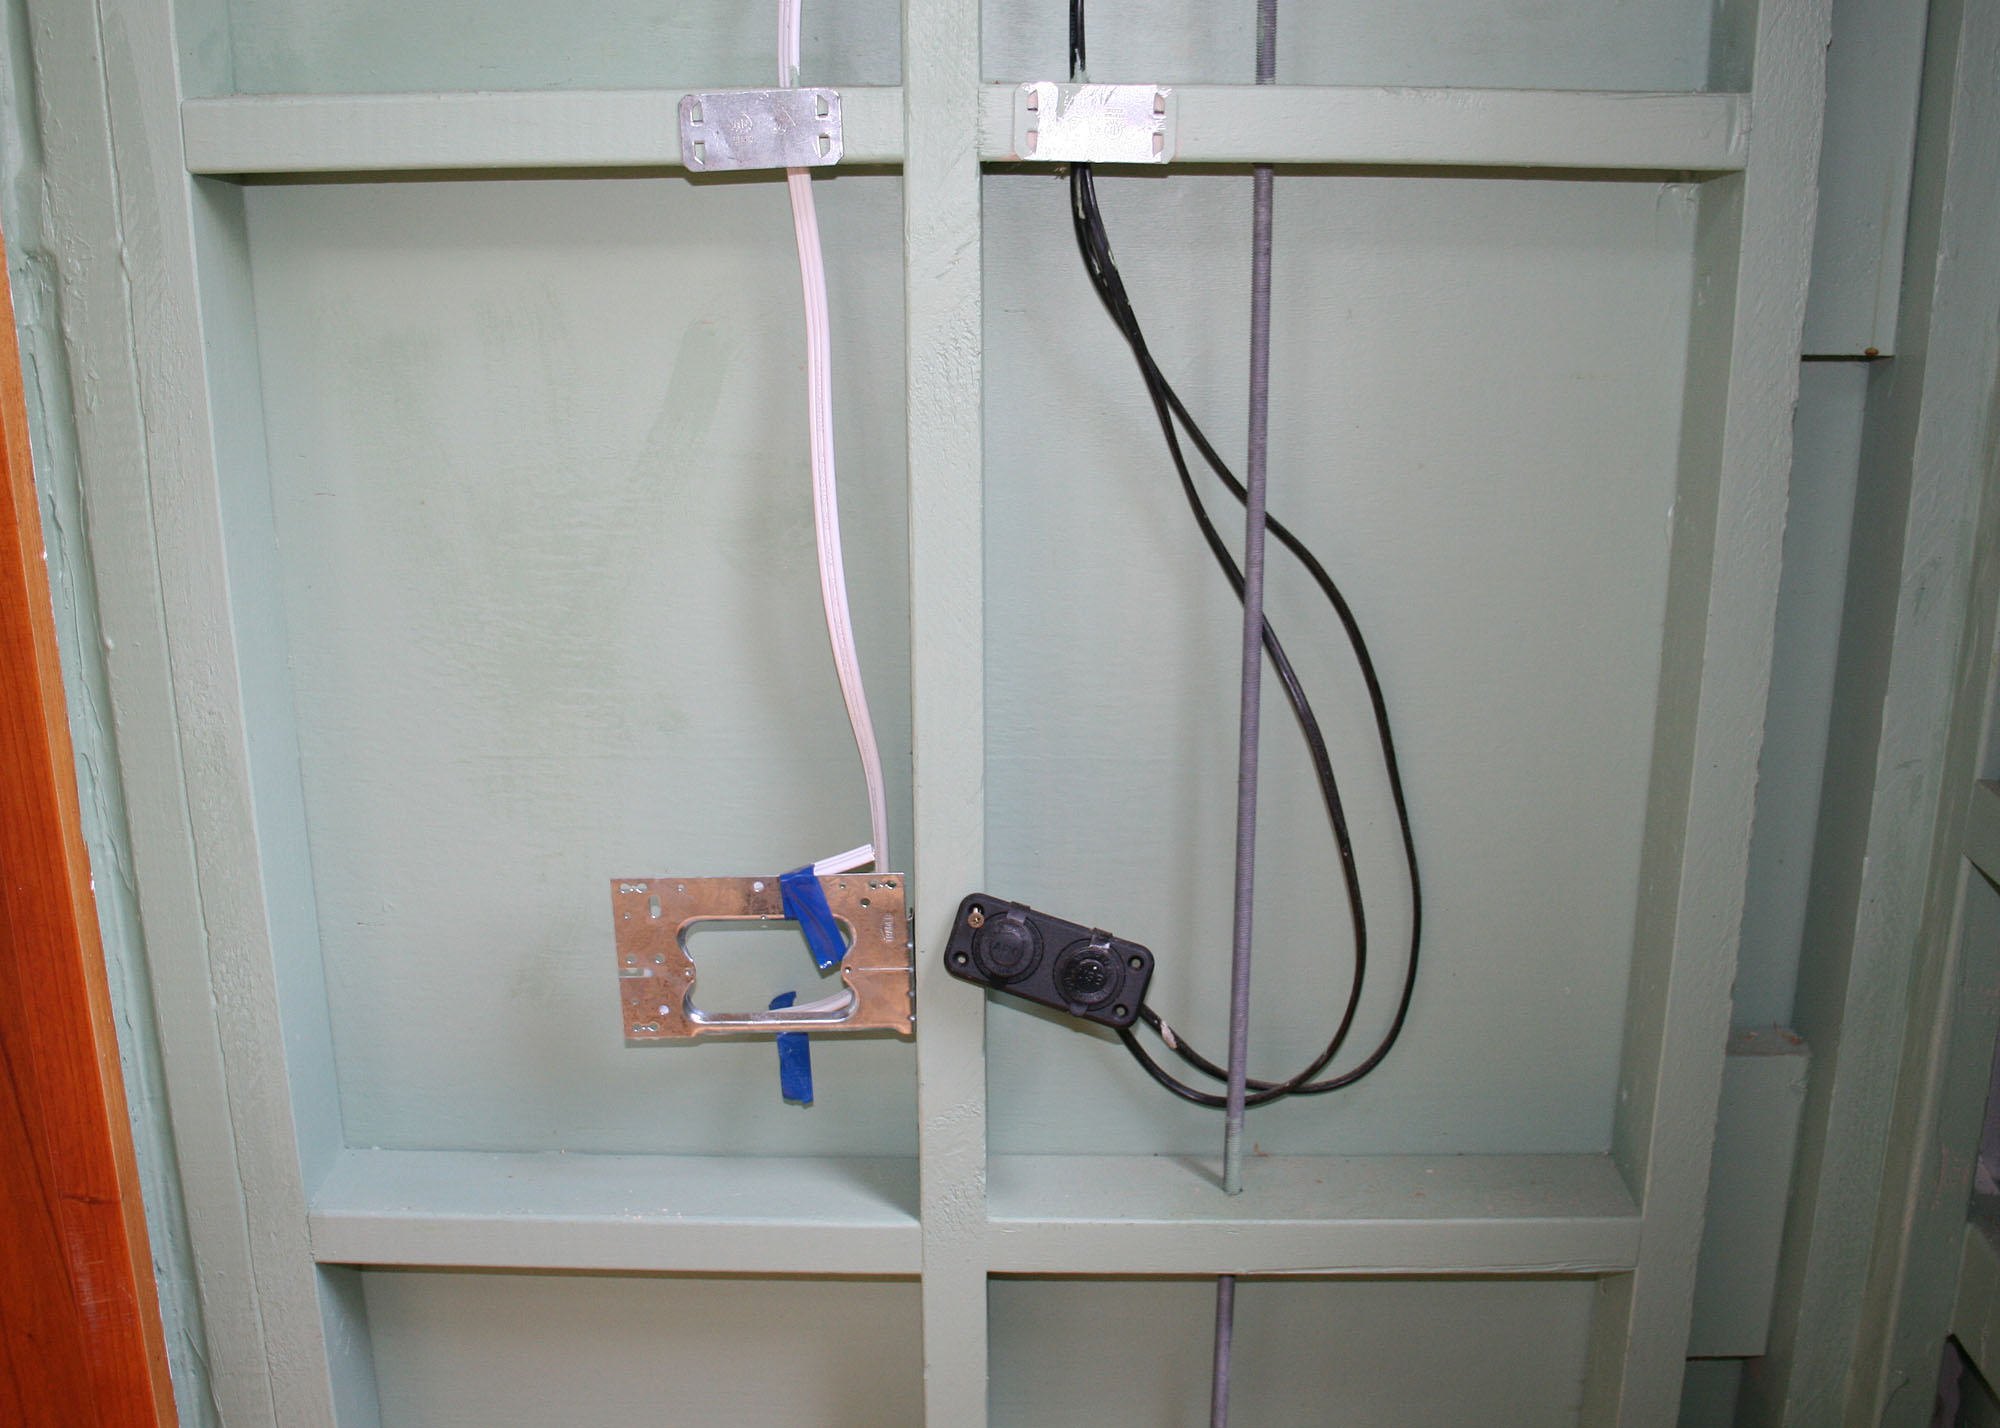
The 12v (black) and 240v (white) circuits are all in place. Note the cover plates to stop anyone accidentally drilling through wires.

The back wall will contain most of the services. All plumbing joins will be accessible via removeable wall panels.

The laundry taps are in place, with a washing machine tap under the sink.

This is the "lounge room" end with the "library" above.

Access to the library is apparently only for fit, agile people.

Kitchen bench is currently being built.
The other side under the bifold window has a smaller bench for eating or more food prep.

View of the loft area.

View from the loft. The trapezoidal shape will have a loft net that you can lounge around on.
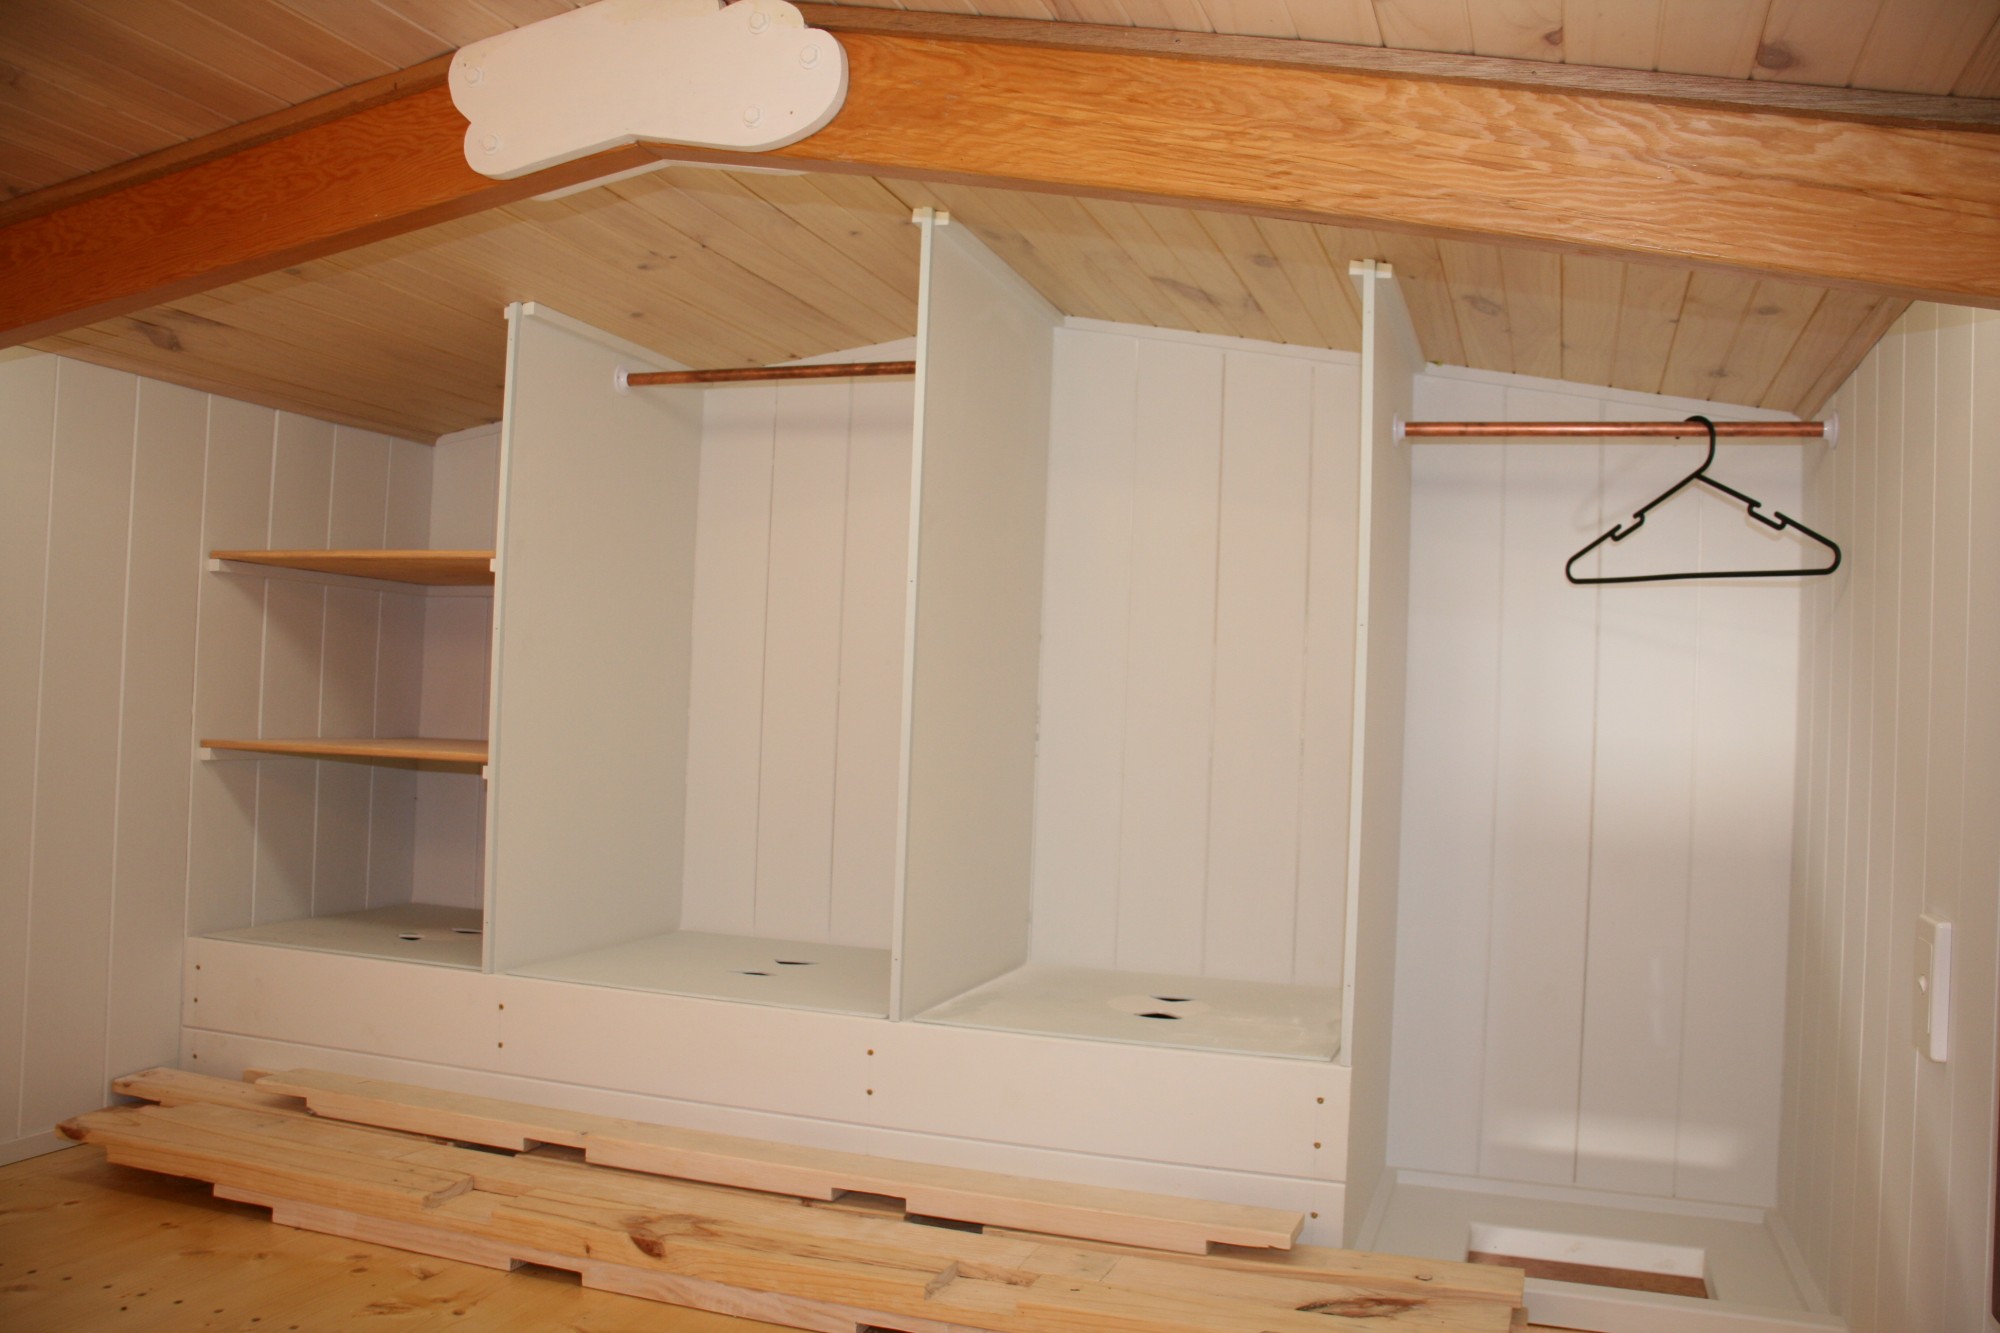
Clothes cupboard on end wall of loft.

View of the bedhead in the loft. There is a small space at the end where you can sit and work.

The net loft has been installed and books are moving in.

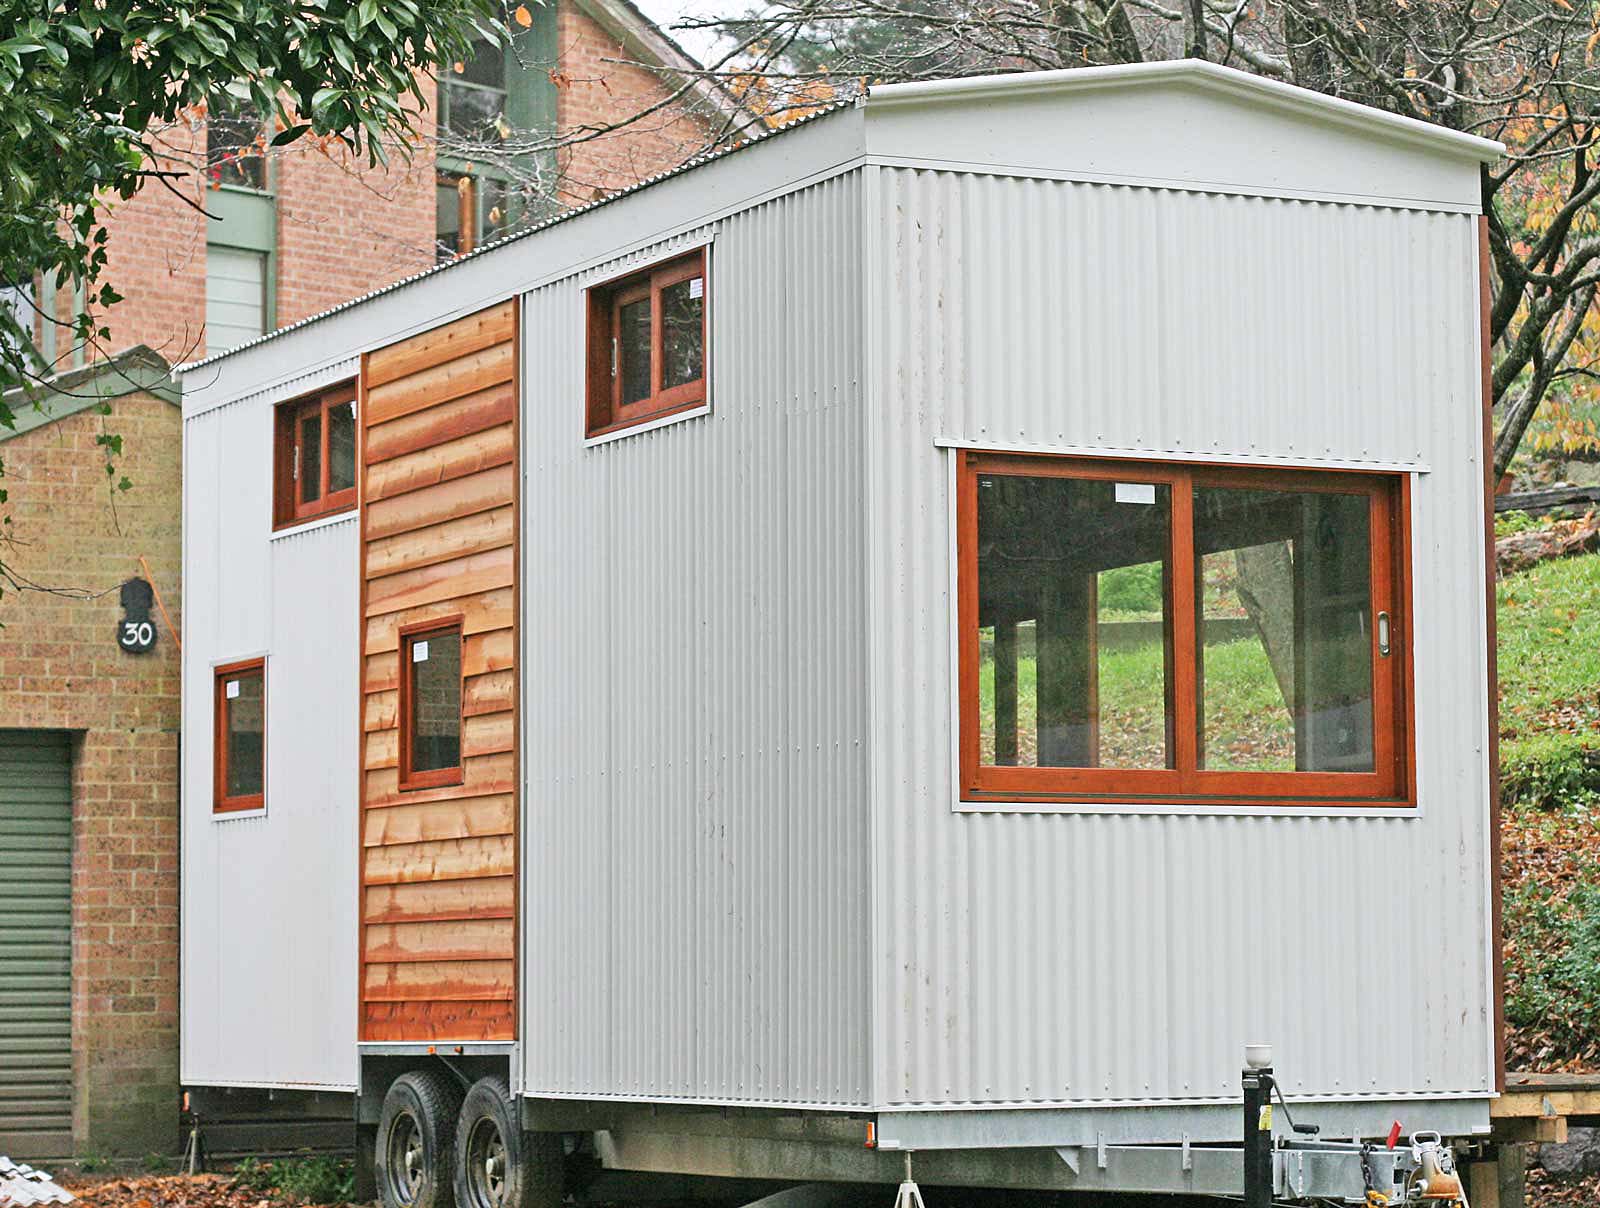
The tiny house is on the move. Not going far though.

Up the road and backed into our driveway.
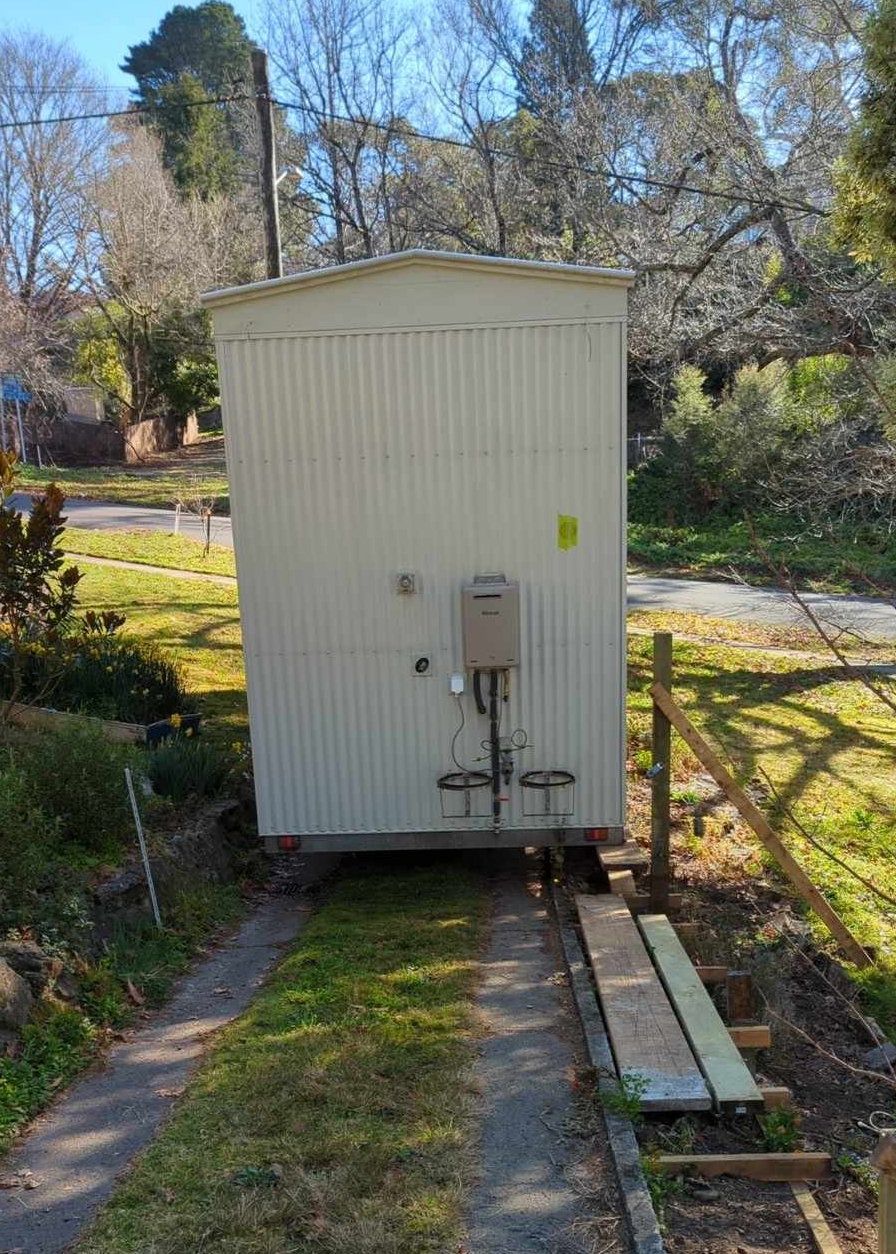
We had to reverse it up because there wasn't room to turn it at the top

The Toyota Landcruiser handled the slope quite comfortably.

The driveway was too narrow so we had to widen it with a ramp structure and boards.

Past the trickiest part and onto firmer ground!
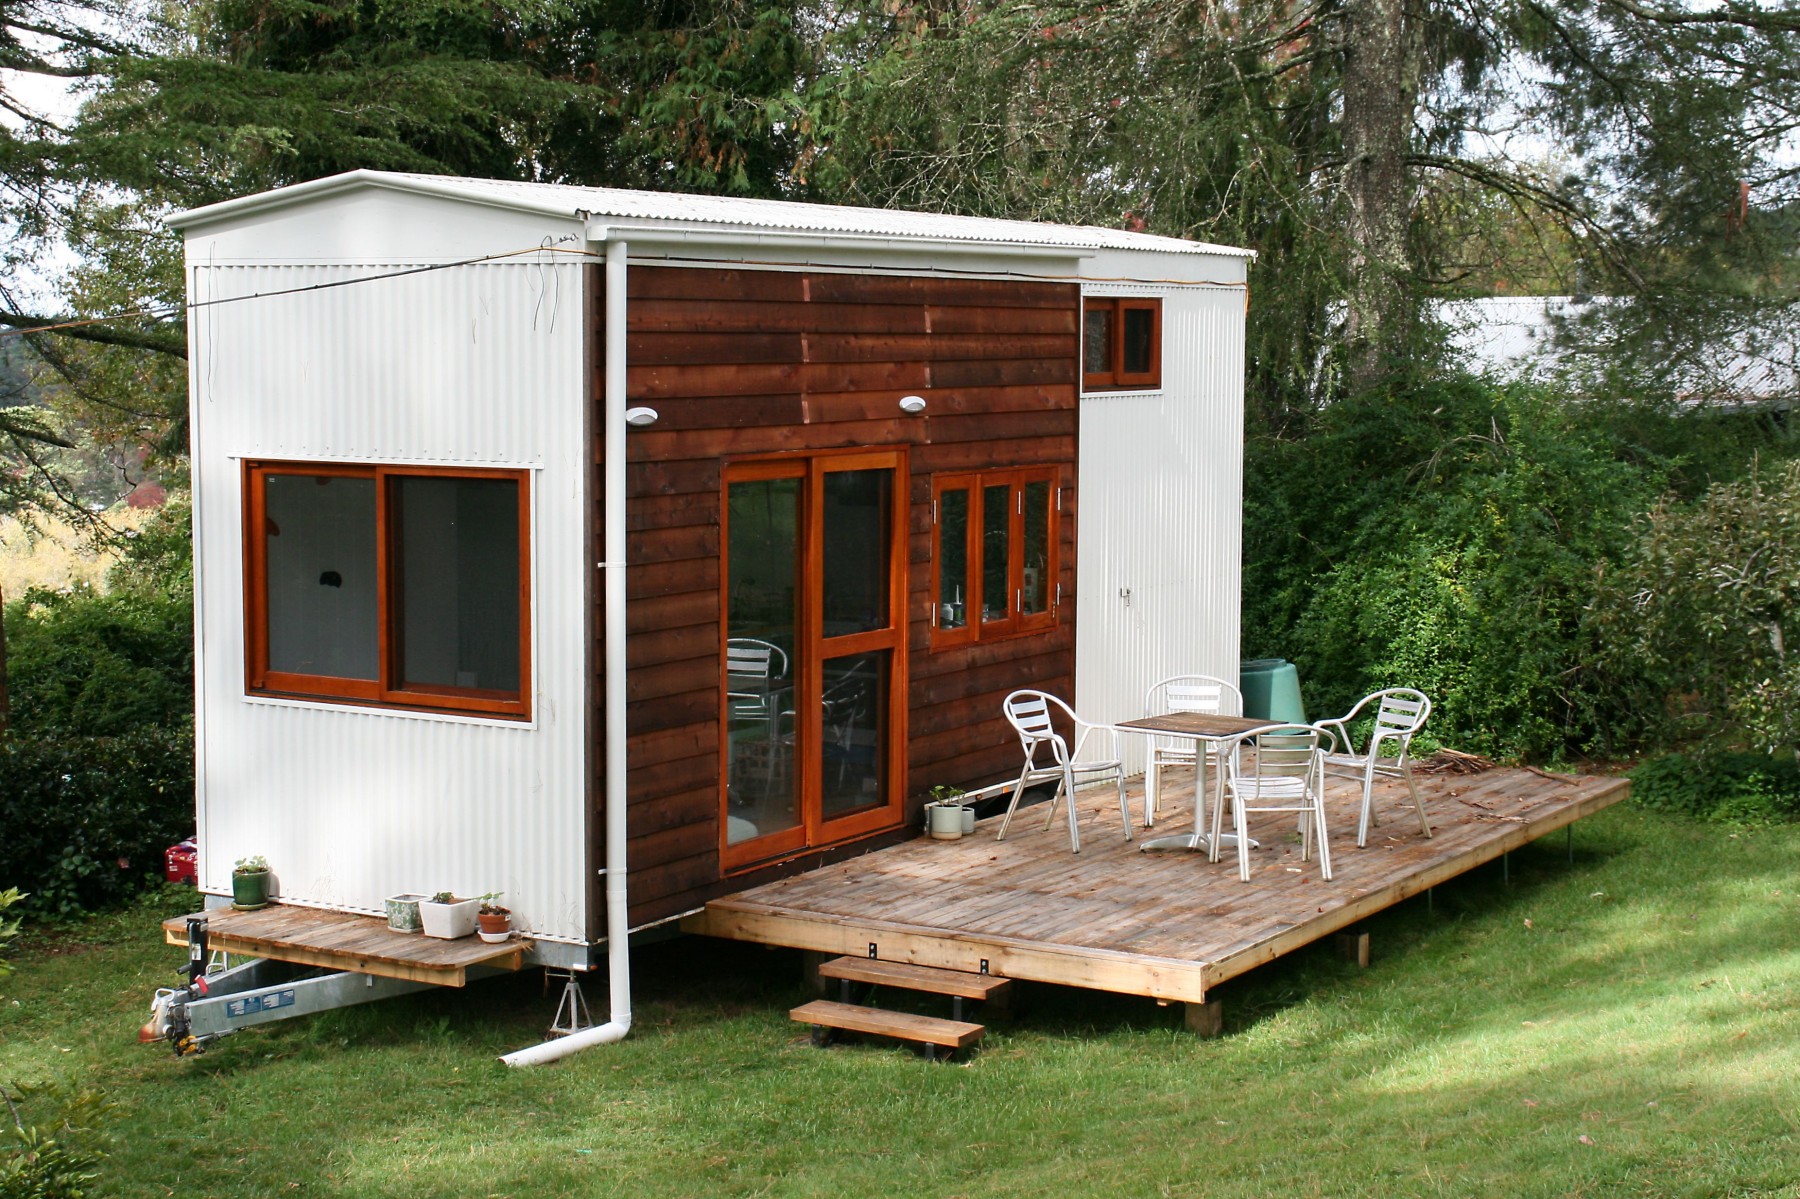
In place with the the new bigger deck built on the side.